


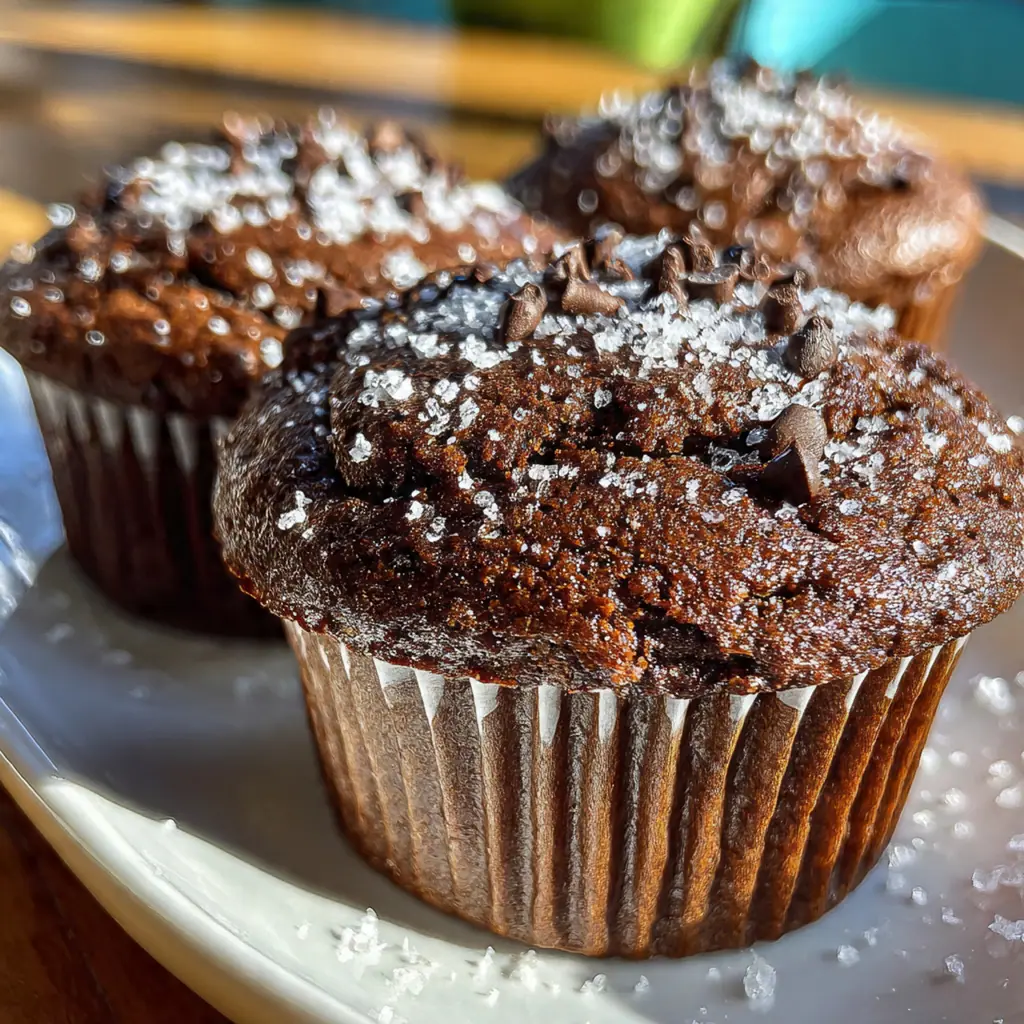
Moist Chocolate Cupcakes are the ultimate baking project that fills your kitchen with the most incredible aroma. There is nothing quite like biting into a tender, rich chocolate cupcake that stays soft for days. This recipe uses simple pantry staples and a little bit of coffee to make the chocolate flavor pop. I’ve tested this batter countless times to guarantee that perfect domed top and a crumb that melts in your mouth. Whether you need a quick dessert or something special for a party, these cupcakes are about to become your favorite go-to treat.
Why You'll Love This Recipe
- Incredibly moist texture that stays fresh for days
- One bowl recipe with no mixer required
- Intense chocolate flavor from the coffee enhancement
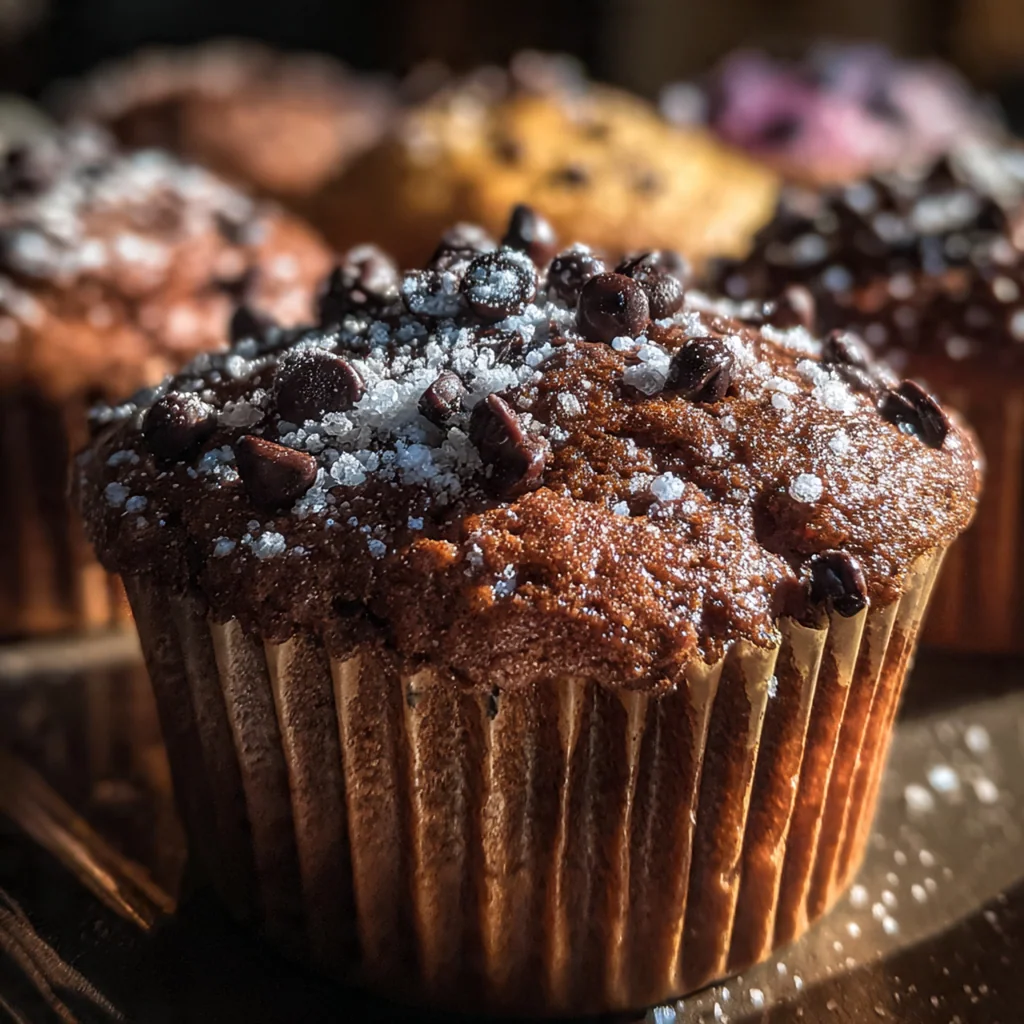
- Perfectly domed tops every time
- Loves to be customized with different mix-ins or frostings
Ingredients You’ll Need
- All-purpose flour: The backbone of your cupcakes providing structure. Choose a standard brand and spoon it into your measuring cup to avoid packing it down.
- Granulated sugar: Adds sweetness and locks in moisture. Standard white sugar works perfectly here for that tender crumb.
- Unsweetened cocoa powder: The star of the show for deep chocolate flavor. Use a high-quality natural cocoa powder for the best results.
- Baking soda: Reacts with the acidic buttermilk and coffee to create lift. Make sure yours is fresh for the best rise.
- Salt: Balances the sweetness and enhances the chocolate. Kosher salt or fine sea salt both work well.
- Buttermilk: The secret to a moist and tender cupcake. It adds acidity which reacts with the baking soda. If you don’t have buttermilk, you can make a substitute with milk and lemon juice.
- Vegetable oil: Keeps the cupcakes incredibly moist compared to butter. Use a neutral oil like canola or vegetable oil.
- Large eggs: Bind the ingredients together and add richness. Let them sit on the counter to reach room temperature for easier mixing.
- Vanilla extract: Adds warmth and depth to the chocolate flavor. Pure vanilla extract is always my preference.
- Hot coffee or boiling water: The magic ingredient that blooms the cocoa powder. It intensifies the chocolate taste without making the cupcakes taste like coffee.
- Chocolate buttercream frosting: The classic pairing for these cupcakes. You can make your own or use a high-quality store-bought version.
- Chocolate shavings: A beautiful and tasty garnish. Use a vegetable peeler on a block of chocolate for easy curls.
- Sprinkles: Adds a fun pop of color for parties. Choose any color or style you like to customize your cupcakes.
How to Make It
Prepare Your Oven And Pan:
Start by preheating your oven to 350°F (175°C). Line a 12-cup muffin tin with paper liners and set it aside. Getting this ready first makes the whole process smoother once your batter is mixed.:
Whisk The Dry Ingredients:
In a large mixing bowl, whisk together the flour, sugar, cocoa powder, baking soda, and salt. You want to whisk until everything is completely combined and you see no lumps of cocoa powder remaining. This ensures every cupcake bakes evenly.:
Combine The Wet Ingredients:
In a separate medium bowl, whisk together the buttermilk, vegetable oil, eggs, and vanilla extract. Whisk until the mixture looks smooth and totally uniform. Using room temperature ingredients here really helps them blend together beautifully.:
Bring The Batter Together:
Pour the wet ingredients into the bowl with the dry ingredients. Use a rubber spatula or whisk to mix everything just until combined. It is crucial not to overmix here; stop as soon as you no longer see streaks of dry flour. The batter will be thick at this point.:
Add The Hot Liquid:
Carefully add the hot coffee or boiling water to the batter and stir gently until it is fully incorporated. The batter will transform and become very thin and liquidy. Do not panic! This is exactly what you want for an incredibly moist cupcake.:
Fill The Cupcake Liners:
Divide the batter evenly among the 12 cupcake liners. A cookie scoop works great for this. Fill each liner about two-thirds full to leave room for rising without overflowing.:
Bake To Perfection:
Place the tin in the preheated oven and bake for 18 to 20 minutes. Check for doneness at the 18-minute mark by inserting a toothpick into the center of a cupcake. It should come out with just a few moist crumbs attached, not wet batter.:
Cool The Cupcakes:
Remove the tin from the oven and let the cupcakes cool in the pan for 5 minutes. This allows them to set up a bit before you handle them. Then, transfer them to a wire rack to cool completely. They must be fully cool before you add any frosting.:
Frost And Decorate:
Once your cupcakes are completely cooled, frost them with chocolate buttercream frosting. You can use a piping bag for a fancy look or simply spread it on with a knife. Top with chocolate shavings or sprinkles for a finishing touch.:
You Must Know
- The batter will be very thin, which is normal and creates the moist crumb.
- Check for doneness at 18 minutes to avoid overbaking dry cupcakes.
- Room temperature ingredients mix more evenly for a better texture.
- I make these almost every week and they never last long in my house.
Storage Tips
To keep your moist chocolate cupcakes tasting fresh, store them in an airtight container. If they are unfrosted, they will stay fresh at room temperature for up to 3 days. Once you add the chocolate buttercream frosting, it is best to keep them in the refrigerator for up to 5 days to prevent the frosting from melting or spoiling. The key to the best flavor and texture is to bring them to room temperature before serving. I usually take them out of the fridge about 30 minutes before I want to eat them. This makes the crumb soft again and the chocolate flavor shine through just like they were freshly baked.
Ingredient Substitutions
If you don’t have buttermilk, you can easily make a substitute by adding one tablespoon of lemon juice or white vinegar to one cup of regular milk and letting it sit for 5 minutes. For a dairy-free version, use your favorite non-dairy milk with the same lemon juice trick. If you need to make these gluten-free, a good quality 1:1 gluten-free baking flour works perfectly as a direct swap for the all-purpose flour. The hot coffee is for blooming the cocoa powder, but if you are sensitive to caffeine, you can absolutely use boiling water instead and they will still be delicious. For the oil, you can substitute melted coconut oil for a slightly different flavor profile.
Serving Suggestions
These cupcakes are fantastic on their own, but they are even better with a tall glass of cold milk to cut through the richness. For a cozy afternoon treat, pair them with a hot cup of coffee or a latte. I love serving these at birthday parties topped with colorful sprinkles, or as a simple dessert after a family dinner with a scoop of vanilla ice cream. They are also elegant enough for a baby shower or afternoon tea when you pipe the frosting on nicely. For an extra decadent dessert, crumble a cupcake over a bowl of vanilla ice cream and hot fudge.
Cultural Context
Chocolate cupcakes are a staple of American baking, appearing in bakeries and home kitchens across the country. While chocolate cake has roots in European desserts, the cupcake form is a distinctly American innovation that prioritizes portion control and convenience. The addition of coffee to enhance chocolate flavor is a classic American bakery trick, often attributed to the mocha flavor profile that is so popular in the United States. This recipe celebrates that home-baking tradition, delivering that professional bakery taste with simple ingredients you likely already have in your pantry. It is a timeless treat that brings joy to any occasion.
Pro Tips
- Don’t skip the hot coffee, it blooms the cocoa for maximum flavor.
- Room temperature ingredients create a better texture and mix easier.
- Check for doneness at 18 minutes to avoid overbaking.
- For extra moisture, poke holes in warm cupcakes and brush with simple syrup.
- I always make a double batch because they disappear so fast.
Frequently Asked Questions
The hot coffee is crucial for these moist chocolate cupcakes. It blooms the cocoa powder, releasing a deeper, more intense chocolate flavor instantly. The heat also helps dissolve the baking soda properly, contributing to the lift. Don’t worry, the cupcakes won’t taste like coffee—it just makes the chocolate taste more chocolatey!
Absolutely! You can bake these moist chocolate cupcakes up to 2 days in advance. Once cooled, store them in an airtight container at room temperature to keep that tender crumb soft. You can also frost them and refrigerate for up to 3 days, but let them come to room temperature before serving for the best texture.
If you don’t have buttermilk for these moist chocolate cupcakes, you can easily make a substitute. Simply add 1 tablespoon of white vinegar or lemon juice to 1 cup of regular milk and let it sit for 5 minutes. Alternatively, you can use plain yogurt or sour cream thinned with a little milk to achieve the same tang and moisture.
Your moist chocolate cupcakes are ready when a wooden toothpick inserted into the center comes out with a few moist crumbs attached, but no wet batter. The tops should look set and spring back lightly when touched. They will continue to cook slightly from residual heat after you take them out of the oven.
These rich American-style cupcakes pair wonderfully with a cold glass of milk or a hot cup of coffee. For a party, serve them alongside fresh berries or a scoop of vanilla bean ice cream to cut through the richness. They are also great on their own as a cozy night in treat.