


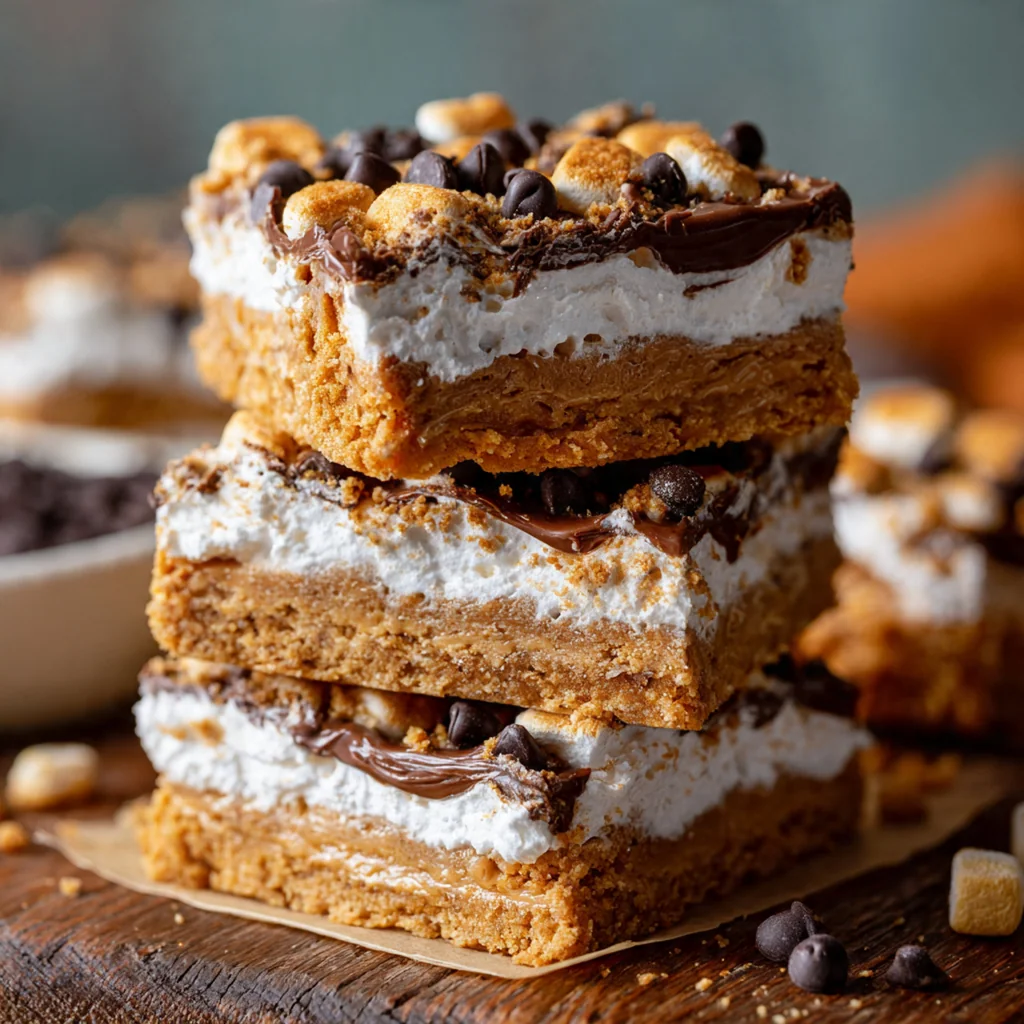
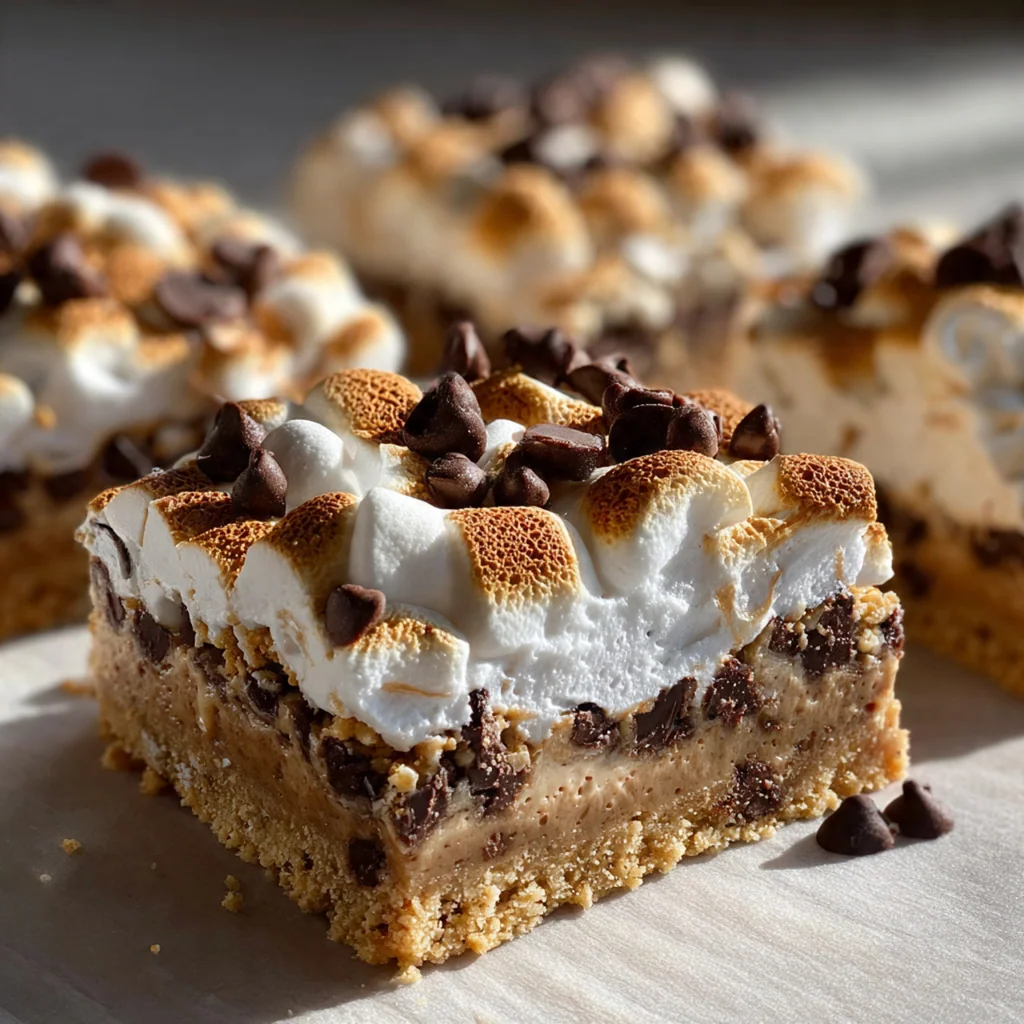
Fluffernutter Bars are the ultimate nostalgic treat that brings back childhood memories in every chewy bite. This Fluffernutter Bars Recipe transforms the classic peanut butter and marshmallow fluff sandwich into a rich, shareable dessert bar. With a buttery blondie base swirled with gooey fluff and topped with melted chocolate, it’s pure comfort food bliss. Perfect for bake sales, lunchboxes, or a late-night sweet craving, these bars come together easily with pantry staples.
Why You'll Love This Recipe
- The iconic peanut butter and marshmallow combo shines in an easy-to-share bar form
- One bowl mixing makes cleanup a breeze
- Perfectly chewy, gooey, and satisfying texture in every single bite
- Great for make-ahead desserts and stays fresh for days
- Crowd-pleaser for both kids and adults
Ingredients You’ll Need
- Unsalted butter: Melted for a rich, moist base; let it cool slightly before mixing to avoid scrambling the eggs.
- Light brown sugar: Adds deep molasses flavor and keeps the bars tender; pack it tightly into your measuring cup.
- Granulated sugar: Balances the brown sugar and helps create those coveted crispy edges.
- Creamy peanut butter: The star of the show; use a well-stirred jar for the most consistent flavor and texture.
- Large eggs: Bind everything together; room temperature eggs blend more smoothly into the batter.
- Vanilla extract: Enhances the peanut butter flavor; pure extract gives the best aroma.
- All-purpose flour: The structure for our bars; spoon and level it to avoid dense results.
- Baking powder: Provides just enough lift for a chewy texture rather than a cakey one.
- Salt: Cuts through the sweetness and enhances every layer of flavor.
- Marshmallow fluff: The gooey swirl that defines these bars; gently warm it for easier swirling.
- Semi-sweet chocolate chips: Melt into a glossy topping; quality chips make a visual and taste difference.
- Flaky sea salt: Optional but highly recommended; it pops the sweet and nutty flavors.
- Salted peanuts: For crunch and a salty punch; chop them roughly for the best texture.
How to Make It
Preheat and Prep:
Start by heating your oven to 350°F and either grease a 9×13-inch pan or line it with parchment paper. Leaving some overhang on the sides makes lifting the bars out later incredibly easy.
Mix the Wet Ingredients:
In a large bowl, whisk the melted butter, brown sugar, and granulated sugar until the mixture is smooth and glossy. Then, blend in the creamy peanut butter until fully incorporated before beating in the eggs one at a time with the vanilla.
Combine the Dry Ingredients:
In a separate medium bowl, whisk the flour, baking powder, and salt together. This quick step ensures the leavening is evenly distributed for consistent texture in every bite.
Bring the Batter Together:
Gradually add the dry ingredients to the wet mixture, stirring with a spatula just until no flour streaks remain. Be careful not to overmix, as this keeps the bars tender and chewy.
Layer the Base:
Spread about two-thirds of the thick batter evenly into your prepared pan. An offset spatula works wonders here for creating a smooth foundation for the fluff swirl.
Swirl the Fluff:
Dollop spoonfuls of marshmallow fluff across the batter surface. Use a knife to gently swirl it in, creating beautiful marbled streaks without overmixing the layers.
Top and Spread:
Drop spoonfuls of the remaining batter over the fluff swirls. Use clean fingers to gently spread it into an even layer; it’s perfectly fine if some fluff peeks through.
Bake to Perfection:
Bake for 22-26 minutes until the edges are golden and the center is set but still slightly soft. A toothpick should come out with moist crumbs, not wet batter, for that perfect chewy texture.
Add the Chocolate Topping:
Remove the pan from the oven and immediately sprinkle chocolate chips evenly over the hot bars. Let them sit for 2-3 minutes to melt, then spread the softened chocolate into a smooth ganache layer with an offset spatula.
Finish and Cool:
If desired, sprinkle with flaky sea salt and chopped peanuts. Allow the bars to cool completely in the pan on a wire rack for at least an hour before lifting out and cutting into squares.
You Must Know
- The bars will continue to set as they cool; pulling them when the center is slightly soft en…
- For clean cuts, chill the bars for 30 minutes and wipe your knife between slices.
- If the fluff is too sticky to swirl, microwave your spatula for a few seconds to help it spr…
- A kitchen scale guarantees the most accurate measurements, especially for the flour.
- I always add extra peanuts on top for that perfect salty crunch.
Storage Tips
Store the bars in an airtight container at room temperature for up to 4 days to maintain their chewy texture. For longer storage, freeze individually wrapped bars for up to 3 months and simply thaw at room temperature whenever a craving strikes. You can also gently warm a frozen bar in the microwave for that gooey, just-baked experience.
Ingredient Substitutions
For a gluten-free version, swap the all-purpose flour with a 1:1 gluten-free baking blend; just ensure it contains xanthan gum for structure. If you’re out of creamy peanut butter, crunchy works fine, though the texture will be more distinct. You can substitute the marshmallow fluff with marshmallow creme—they’re essentially the same product. For the chocolate, any melting chocolate or chopped chocolate bars will work; milk chocolate will be sweeter while dark chocolate offers a richer contrast.
Serving Suggestions
Enjoy these Fluffernutter Bars as is, or slightly warmed with a scoop of vanilla bean ice cream for a decadent dessert. They pair wonderfully with a cold glass of milk, a hot cup of coffee, or even a cold brew. For a fun party twist, serve them alongside other nostalgic treats like brownies and cookie bars.
Cultural Context
The Fluffernutter sandwich is a beloved American classic, particularly iconic in New England where it’s a lunchbox staple. It celebrates the simple, sweet, and salty combination of peanut butter and marshmallow, ingredients that became pantry heroes in the early 20th century. Turning this sandwich into a bar cookie is a modern, shareable twist that honors its roots while making it perfect for gatherings and bake sales across the country.
Pro Tips
- For extra peanut butter flavor, stir in 1/2 cup of chopped peanut butter cups into the batter.
- If the fluff is sticky, warm your spatula to make swirling effortless.
- Don’t overbake! The residual heat continues cooking the bars after removal.
- Use a kitchen scale for flour accuracy to guarantee the perfect chewy texture.
- Chill before slicing for the cleanest, most professional-looking squares.
Frequently Asked Questions
These bars combine the nostalgic flavors of a classic peanut butter and marshmallow fluff sandwich into a rich, chewy bar cookie. The buttery peanut butter blondie base is swirled with gooey marshmallow fluff and topped with melted chocolate for pure comfort food bliss.
Yes! These bars store beautifully. Let them cool completely, then cut and store in an airtight container at room temperature for up to 5 days. They also freeze well for up to 3 months—just wrap individual bars tightly.
If you don’t have marshmallow fluff, you can make a simple substitute by melting mini marshmallows with a bit of corn syrup. Alternatively, use a vanilla buttercream frosting swirled with mini marshmallows for a similar gooey texture.
The edges should be golden brown and set, while the center may look slightly underdone—that’s perfect for a chewy texture. A toothpick inserted in the center should come out with moist crumbs, not wet batter. They’ll continue to set as they cool.
These rich bars pair wonderfully with a cold glass of milk or a cup of coffee. For an American dessert spread, serve them alongside brownies, chocolate chip cookies, or fresh fruit to balance the sweetness. They’re perfect as a standalone lunchbox treat too.