

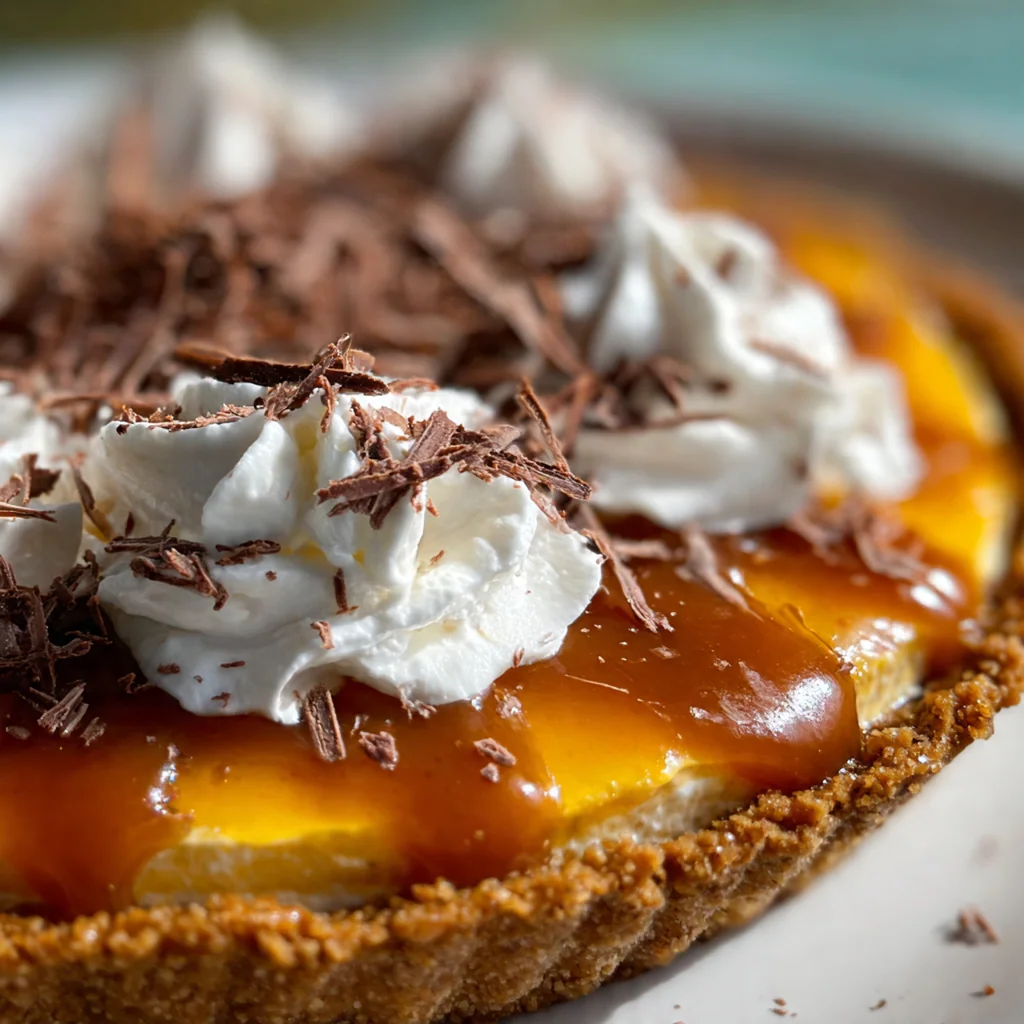
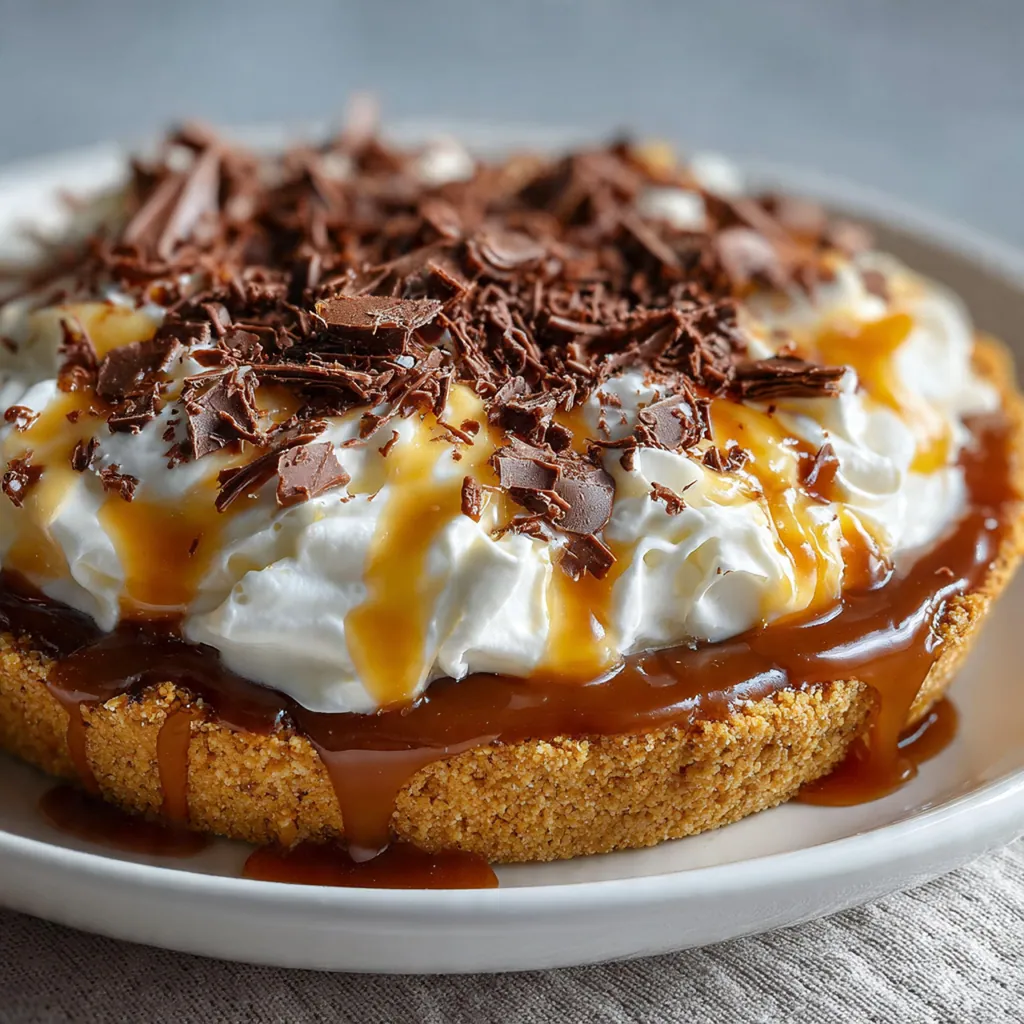
You can’t beat a truly perfect caramel pie, and this one with its signature sweet-salty balance is the version I’ve been making for years. It’s a classic American dessert that turns simple pantry staples into something spectacular with a silky homemade caramel. That magic moment when the sugar turns deep amber in the pan is always a thrill. It proves that a pie doesn’t need to be complicated to be completely unforgettable and worthy of any celebration.
Why You'll Love This Recipe
- The rich caramel filling is deeply satisfying without being cloying
- It’s a fantastic make-ahead dessert for stress-free entertaining
- The crunchy crust gives the perfect contrast to that smooth filling
- You’ll feel a real sense of pride from making caramel from scratch
- My family asks for this one every single Thanksgiving
Ingredients You’ll Need
- Graham cracker crumbs: For the base of your crust, they provide a sweet, toasty flavor and hold together well when packed. Look for plain or honey-flavored varieties.
- Granulated sugar: You’ll use it twice, once to sweeten the crust and again for the caramel. Simple white sugar is best for achieving a clear, deep amber caramel.
- Unsalted butter: It binds the crust and creates richness in the filling. Using unsalted lets you control the final salt level perfectly.
- Water: Added to the sugar for the caramel to help it dissolve evenly and prevent burning before it starts to color.
- Heavy cream: The key to the filling’s luxurious texture. Warm it before adding to the hot sugar to prevent seizing and ensure smoothness.
- Vanilla extract: A splash adds a warm, aromatic background note that makes the caramel flavor even more complex.
- Fine sea salt: Balances the intense sweetness and defines the salted caramel profile. Its fine grind dissolves seamlessly.
- Powdered sugar: For sweetening the whipped cream topping lightly so it doesn’t compete with the caramel.
- Flaky sea salt: An optional but brilliant garnish that adds texture and a final pop of salty flavor right before serving.
How to Make It
Make and Bake the Crust:
Start by preheating your oven to get it ready for the crust. In your bowl, mix the graham crumbs and sugar, then stir in the melted butter until everything looks like wet sand. Press this mixture very firmly into your pie dish, going all the way up the sides. Bake it just until you see the edges start to turn golden, which gives the crust a head start on flavor and structure before it gets filled.
Prepare for the Caramel:
Before you even turn on the stove, get everything for the filling measured and within arm’s reach. Warm your cream gently and cut your butter into pieces. Caramel moves fast once it starts, so having your ingredients prepped is the best way to avoid a last-minute panic and a potentially burnt batch.
Cook the Sugar:
Combine the sugar and water in your saucepan over medium heat. Resist the urge to stir it; just let it bubble and swirl the pan occasionally for even heating. Watch as it transforms from cloudy to clear, then to a light gold, and finally a deep amber. This color change is your signal that it’s ready for the next step.
Carefully Add the Cream:
The moment the sugar hits that perfect amber, take the pan off the heat. Slowly and steadily pour in the warm cream while whisking constantly. It will bubble up vigorously, so pour slowly to keep it contained. Keep whisking until the bubbling calms down and you have a smooth, homogenous mixture.
Finish the Caramel Filling:
Whisk the butter pieces, vanilla, and fine sea salt into the hot caramel. Keep whisking until every bit of butter has melted and been incorporated, leaving you with a glossy, velvety sauce. This is your finished filling, and it’s ready to pour.
Fill and Chill the Pie:
Pour the hot caramel directly into your completely cooled crust. Give the pie dish a gentle tap on the counter to settle the filling and release any air bubbles. Let it cool on the counter for a bit before transferring it to the fridge. It needs several hours to set up firm and sliceable, so patience is key here.
Whip the Topping and Serve:
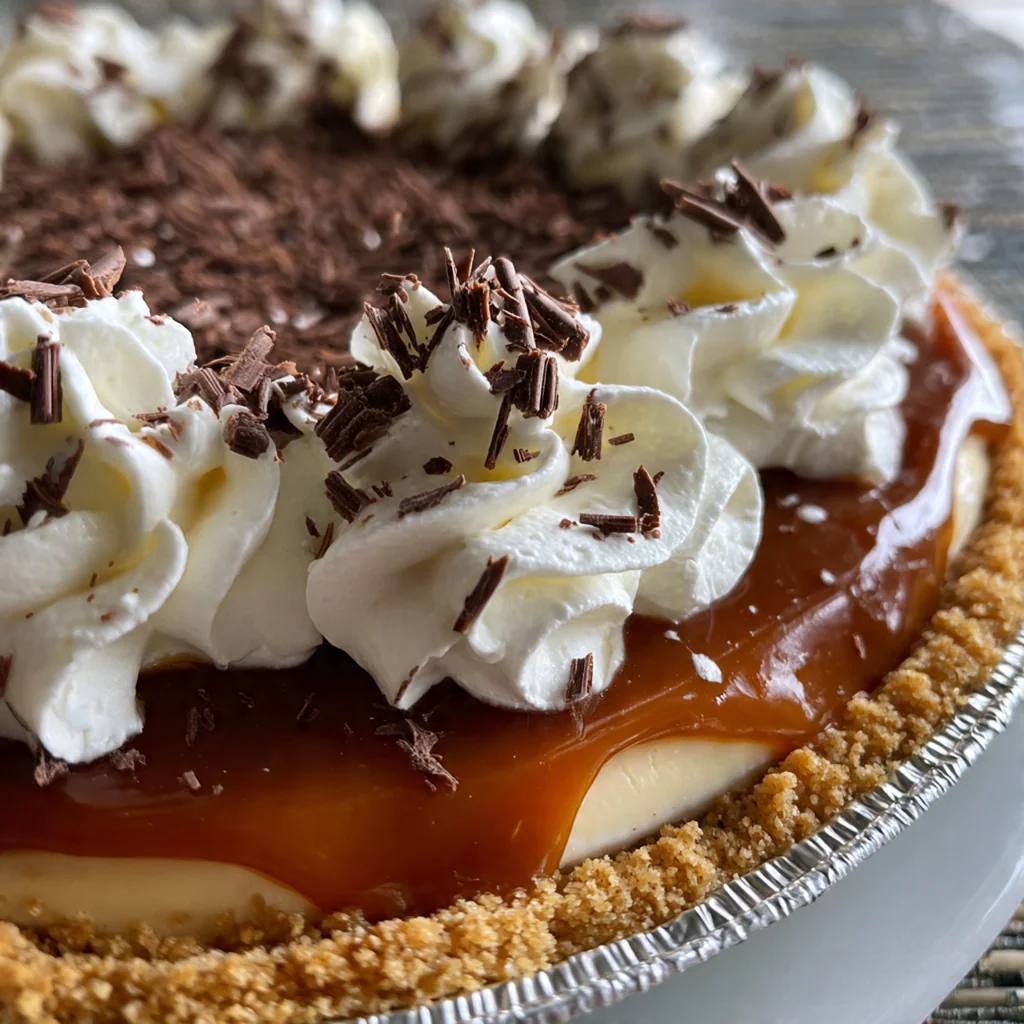
Right before you’re ready to serve, whip the cold cream and powdered sugar until you get soft, fluffy peaks. Spread or dollop it over your chilled caramel pie. A final sprinkle of flaky salt and maybe a drizzle of extra caramel sauce makes it look as incredible as it tastes. Use a hot, clean knife for the cleanest slices.
You Must Know
- A light-colored saucepan is non-negotiable for seeing the caramel’s color
- Have all your filling ingredients measured and ready to go
- The caramel must cool completely before you slice into it
- You’ll want to hide a piece for yourself for later
Storage Tips
Store any leftover pie loosely covered with plastic wrap in the refrigerator, and it’ll stay perfect for up to four days. For the best texture, I always add the whipped cream topping only on the day I plan to serve it. If you want to get ahead, the plain caramel-filled pie freezes beautifully for about a month; just thaw it overnight in the fridge before you top and serve.
Ingredient Substitutions
For a gluten-free version, you can swap in the same amount of certified gluten-free graham cracker crumbs with no other changes to the method. If you need a dairy-free caramel pie, plant-based butter and full-fat canned coconut cream can stand in for the butter and heavy cream, though the flavor will be slightly different. In a pinch, you could use a pre-made graham cracker crust, but the homemade one is so much better and only takes minutes to put together.
Serving Suggestions
I love serving a slice of this pie with a hot cup of strong black coffee or a cold glass of milk to cut through the richness. For a truly decadent treat, add a scoop of high-quality vanilla bean ice cream on the side—the warm-cold contrast is phenomenal. It’s also fantastic with a little bowl of mixed berries, as their bright acidity provides a lovely counterpoint to the sweet, buttery caramel.
Cultural Context
This caramel pie is a pure expression of American home baking, where classic, comforting desserts are built on straightforward techniques and rich flavors. The practice of making caramel from scratch for pies and candies has deep roots in home kitchens, a skill often passed down through generations. While salted caramel feels modern, it brilliantly highlights a timeless principle: the magic that happens when you balance profound sweetness with a sharp, savory edge. It’s a dessert that feels both nostalgic and completely of-the-moment.
Pro Tips
- Warm your cream to prevent the caramel from seizing up
- Tap the filled pie dish to release air bubbles
- Chill the pie thoroughly for the cleanest slices
- Use a hot knife for serving, wiping it clean between cuts
- Trust me, the homemade caramel is worth the few minutes of focus
Frequently Asked Questions
While you can use a pre-made crust, the homemade version with 1 ½ cups of graham cracker crumbs, sugar, and melted butter provides a far superior, buttery flavor and sturdy texture that perfectly complements the rich caramel filling.
Absolutely! This pie is ideal for making ahead. The caramel filling sets beautifully when chilled. Prepare it a day in advance, cover, and refrigerate. Add the whipped cream topping just before serving for the best texture.
Heavy cream is essential for the caramel’s richness and stability. For the filling, there’s no good substitute. For the topping, full-fat coconut cream can be whipped as a dairy-free alternative, though the flavor will differ slightly.
The caramel is ready when the sugar and water mixture turns a deep amber color, which takes about 8-10 minutes of cooking. It should smell nutty and rich. Remove it from heat immediately to prevent burning.
This classic American dessert is perfect on its own. For extra indulgence, serve it with a cup of coffee, a drizzle of extra caramel sauce, or a sprinkle of flaky sea salt to enhance the sweet-salty profile.