


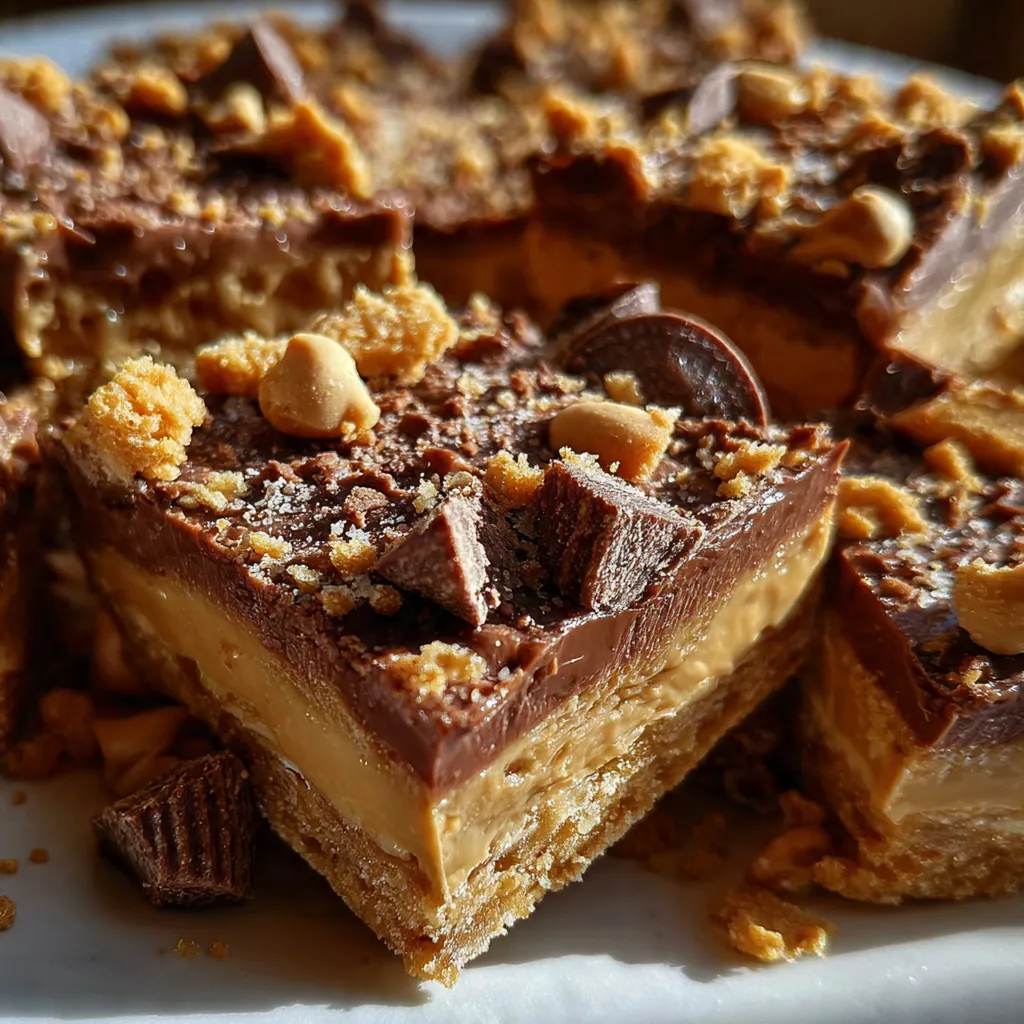
Craving that iconic Reeses peanut butter chocolate combo but want to make it yourself? These no-bake bars capture everything you love about the classic candy in a homemade treat. They come together in just 25 minutes with simple ingredients you likely have on hand. As an American dessert staple, this recipe delivers that perfect sweet and salty satisfaction without ever turning on your oven. I make these all summer when it’s too hot to bake.
Why You'll Love This Recipe
- Skip the oven and enjoy these bars in just 25 minutes
- Simple ingredients create that iconic Reeses peanut butter chocolate taste
- Make them ahead for parties or a quick dessert all week long
- My family begs me to make these every time we have guests
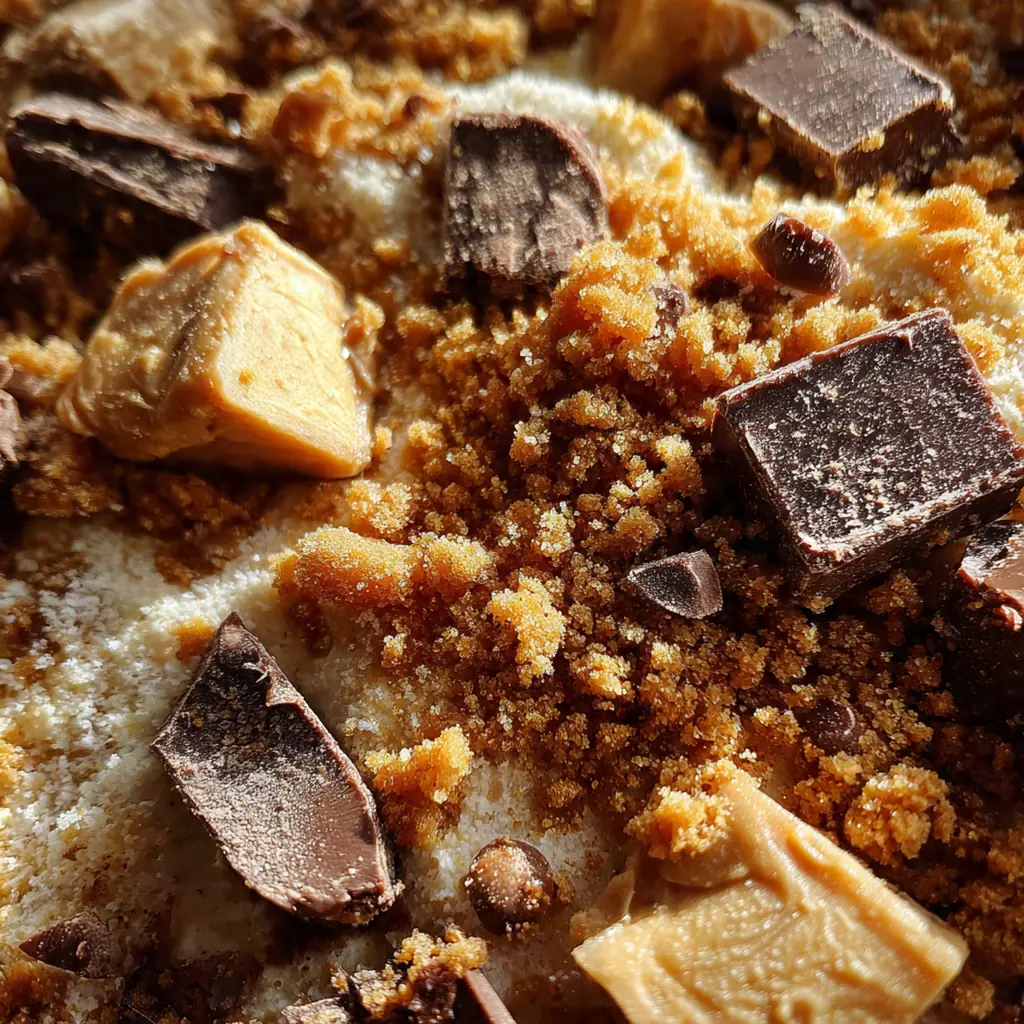
Ingredients You’ll Need
- Graham cracker crumbs: they form the crunchy base that holds everything together choose plain crumbs without added spices for the best result
- Granulated sugar: a little sweetness in the crust balances the rich layers ahead regular white sugar works perfectly here
- Unsalted butter: melted butter binds the crust while softened butter creates a creamy filling controlling the salt yourself is key
- Creamy peanut butter: the star of the show delivering that iconic Reeses flavor use a no-stir brand for smooth consistent results
- Powdered sugar: it dissolves into the peanut butter filling for a silky texture without graininess sift it if it’s lumpy
- Pure vanilla extract: a dash enhances all the other flavors real extract makes a noticeable difference over imitation
- Fine sea salt: it sharpens the peanut butter and chocolate preventing them from being too sweet I keep a jar right by my stove
- Semi-sweet chocolate chips: they melt into a glossy topping that sets firmly pick a brand you enjoy eating straight
- Heavy cream: when heated with chocolate it creates a smooth ganache that pours beautifully don’t substitute lower fat milk
- Chopped Reese’s Peanut Butter Cups: optional but fun they reinforce the theme and add extra texture on top chop them roughly for easy sprinkling
- Flaky sea salt: a light sprinkle on the warm chocolate layer elevates every bite with a subtle crunch I use Maldon
How to Make It
Prepare the Pan and Crust:
Line your 8×8 inch baking dish with parchment paper, leaving overhang on two sides for easy removal later. Lightly grease the paper with non-stick spray to prevent sticking. In a medium bowl, combine the graham cracker crumbs, granulated sugar, and melted butter. Mix until the crumbs are evenly moistened and resemble wet sand – this ensures a cohesive crust. Press the mixture firmly and evenly into the bottom of the prepared dish. Use the bottom of a measuring cup to compact it well. Chill in the refrigerator for 10 minutes while you make the filling; this helps the crust set.
Make the Peanut Butter Filling:
In a large bowl, beat the creamy peanut butter and softened butter together with a hand mixer on medium speed. Beat until smooth and creamy, about two minutes. Add the powdered sugar, vanilla extract, and fine sea salt. Start on low speed to combine, then increase to medium-high and beat until the filling is light and fluffy, about three minutes. You’ll see it change texture and become airy, which makes the layer dreamy.
Layer the Filling:
Spread the peanut butter filling evenly over the chilled crust. Use a spatula to smooth the top into a uniform layer. This step is where you get that signature Reeses peanut butter chocolate bar middle. Return the dish to the refrigerator to firm up slightly while you prepare the chocolate topping. A brief chill helps prevent the layers from mixing when you add the warm ganache.
Create the Chocolate Ganache:
Combine the semi-sweet chocolate chips and heavy cream in a small saucepan over low heat. Stir constantly with a spatula until the chocolate is completely melted and the mixture is smooth, about five minutes. Alternatively, microwave in 30-second intervals, stirring between each, until melted. Low heat prevents the chocolate from seizing and ensures a glossy, pourable consistency for that perfect top layer.
Top and Set:
Pour the melted chocolate over the peanut butter layer and spread it into an even layer with a spatula. Immediately sprinkle with chopped Reese’s Peanut Butter Cups or flaky sea salt if using. The toppings adhere best to the warm chocolate. Refrigerate the bars for at least four hours, or until completely set. For best results, chill overnight; this ensures clean cuts and fully developed flavors.
Cut and Serve:
Use the parchment paper overhang to lift the set bars from the dish. Place on a cutting board and cut into eight squares with a sharp knife. For clean slices, dip your knife in hot water and wipe it dry between cuts. Serve the bars chilled. They’re best enjoyed cold, but letting them sit out for 10 minutes before serving softens the texture just enough.
You Must Know
- A firmly pressed crust is the foundation for neat bars
- Use creamy peanut butter not natural for the best consistency
- Low heat keeps your chocolate ganache smooth and shiny
- I always warm my knife for those professional clean edges
Storage Tips
After cutting, store any leftover bars in an airtight container in the refrigerator – they’ll keep their texture and flavor for up to a week. For longer storage, freeze the bars on a parchment-lined sheet until solid, then transfer to a freezer bag for up to three months. Thaw in the fridge overnight before serving. I find they taste even better after a day or two as the flavors meld together beautifully, and the cold keeps the layers perfectly firm.
Ingredient Substitutions
For a gluten-free treat, use gluten-free graham cracker crumbs – they work just as well in the crust. Dairy-free adaptations are easy with plant-based butter and dairy-free chocolate chips; look for ones that melt smoothly. If you only have natural peanut butter, give it a thorough stir to incorporate the oils before measuring. In a real pinch, honey or maple syrup can stand in for the granulated sugar in the crust, but the texture will be slightly chewier. I’ve made all these swaps and the bars still disappear fast, so don’t hesitate to experiment.
Serving Suggestions
Enjoy these bars chilled alongside a glass of cold milk or a cup of coffee for the ultimate sweet break. They shine as a dessert when paired with vanilla ice cream or a dollop of whipped cream. Because they’re no-bake and portable, they’re perfect for picnics, potlucks, or as a lunchbox treat. I often cut them into smaller squares for party platters, and they’re always the first to disappear. For a festive touch, drizzle with extra melted peanut butter before serving to double down on that Reeses peanut butter chocolate magic.
Cultural Context
The iconic Reeses peanut butter chocolate pairing is a hallmark of American confectionery, invented by Harry Burnett Reese in the 1920s. This no-bake bar recipe is a homemade tribute to that legacy, embodying the DIY spirit of American home cooks who love to recreate store-bought favorites. No-bake desserts have a special place in American cuisine, particularly in the South and Midwest where they’re featured at church socials and family reunions. These bars carry that tradition forward, offering a simple yet satisfying treat that everyone recognizes and loves. I grew up with similar recipes, and making them always feels like a nod to that shared culinary heritage of comfort and convenience.
Pro Tips
- Compact the crust firmly so it slices without crumbling
- Creamy peanut butter is key for that smooth Reeses-like filling
- Low slow heat keeps your chocolate topping silky not grainy
- I never skip the hot knife trick for perfect squares
Frequently Asked Questions
Use a creamy, store-bought peanut butter (not natural or oily varieties) for the best texture and flavor that mimics the classic Reeses filling. The added sugars and stabilizers help the peanut butter layer set firmly without being greasy, giving you that authentic, sliceable consistency.
Absolutely! These bars are perfect for making ahead. Once the chocolate layer has fully set, you can store them in an airtight container in the refrigerator for up to 5 days. The flavors actually improve after a day, making them an ideal make-ahead dessert.
If you don’t have heavy cream, you can use full-fat coconut milk for a dairy-free option, or half-and-half in a pinch. The higher fat content in heavy cream creates a richer, smoother ganache that sets well, so substitutes may result in a slightly softer topping.
The bars are ready when the chocolate ganache layer is completely firm to the touch and doesn’t leave a fingerprint. This usually takes at least 2 hours in the refrigerator. For cleanest slices, use a sharp knife warmed under hot water and wiped dry between cuts.
These rich bars are fantastic on their own, but you can pair them with a cold glass of milk, a scoop of vanilla ice cream, or a hot coffee to balance the sweetness. They’re the ultimate American dessert for potlucks, parties, or a simple sweet treat at home.