


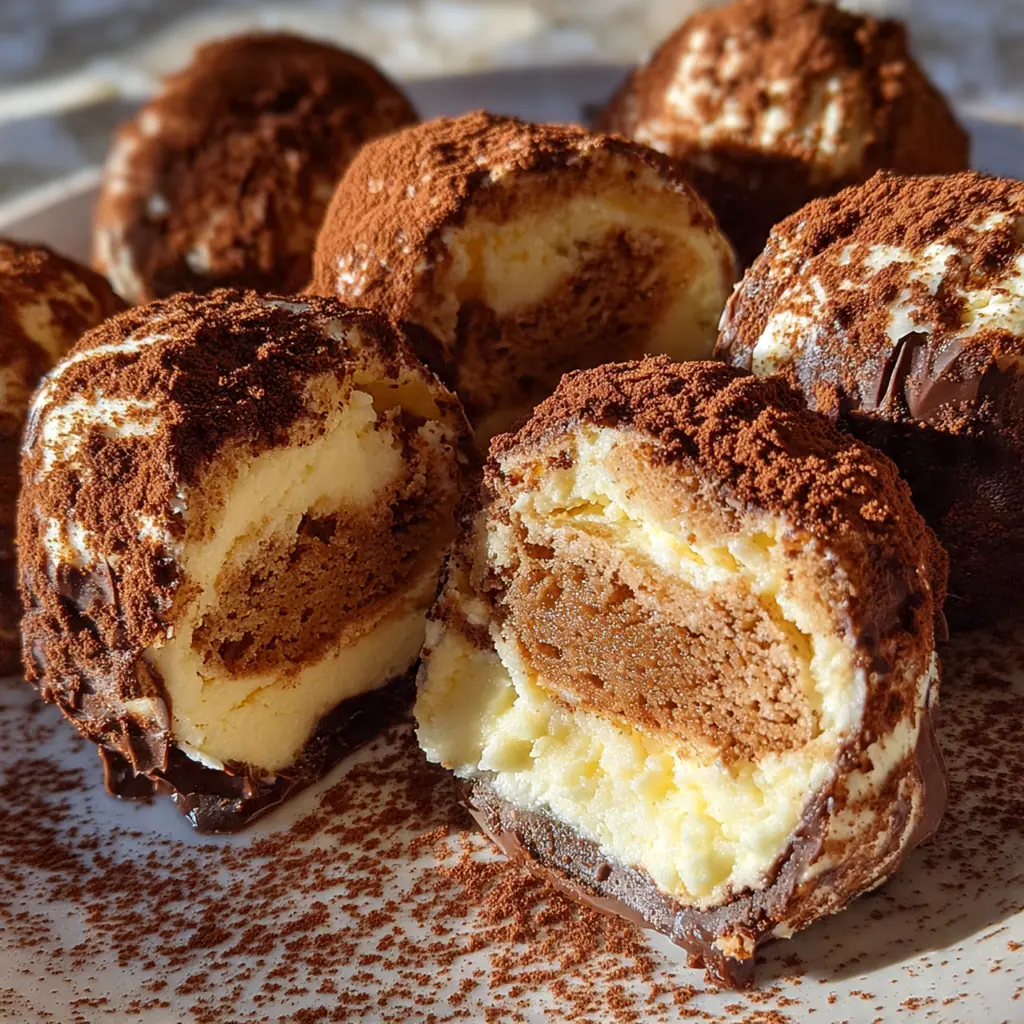
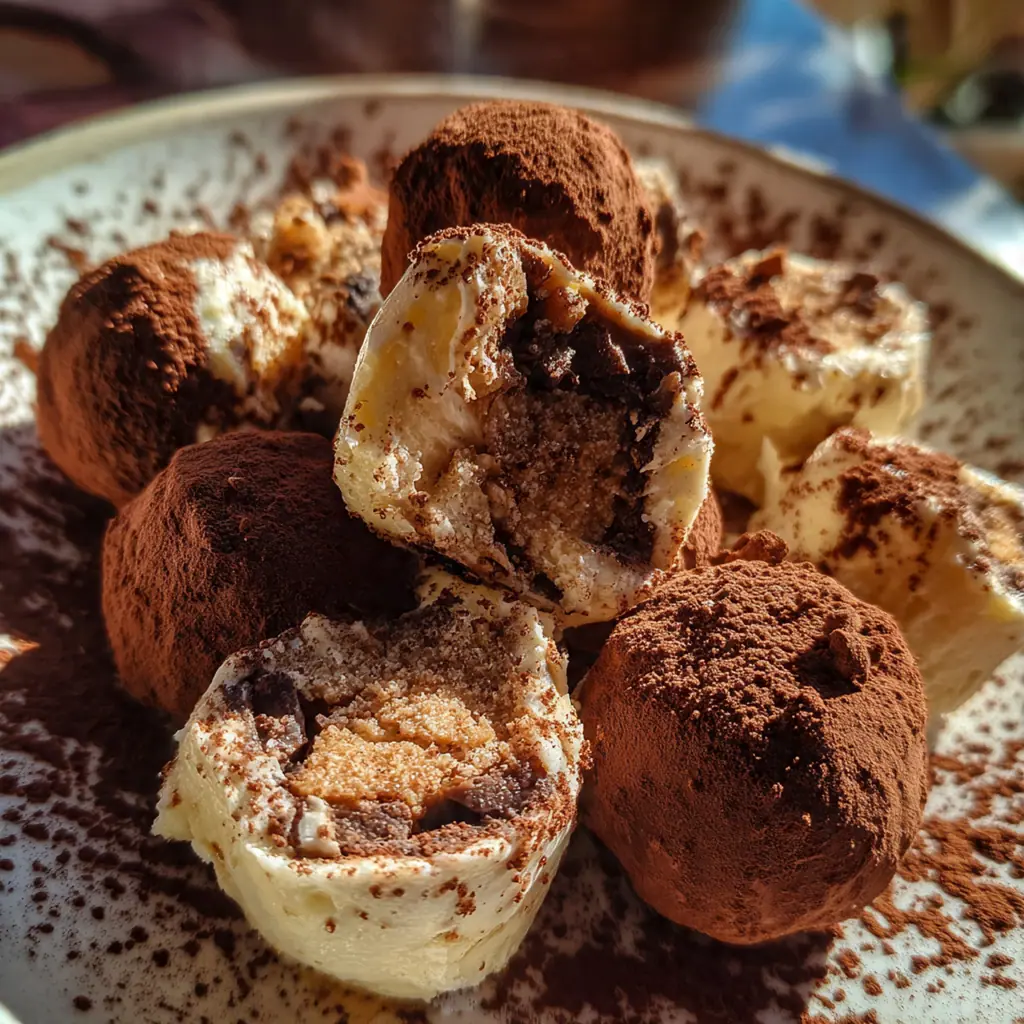
These Tiramisu Truffles transform the classic Italian dessert into elegant, bite-sized delights. This Tiramisu Truffles Recipe captures all the signature coffee and cocoa flavors we love in a rich, creamy filling. It’s the perfect no-bake treat for dinner parties or as a sweet homemade gift. I love making these when I want something impressive but don’t want to turn on the oven. Each bite delivers that authentic tiramisu experience in a convenient pop.
Why You'll Love This Recipe
- All the classic tiramisu flavor in a convenient, no-fuss bite
- No baking required, perfect for warm days
- Elegant presentation for parties and gifting
- Can be made up to 3 days in advance
- Surprisingly easy despite looking impressive
Ingredients You’ll Need
- Mascarpone cheese: This is the heart of tiramisu flavor, pick a high-quality brand that’s smooth and tangy for the best taste
- Cream cheese: Adds stability and structure to the truffles, ensure it’s fully softened to avoid lumps in your mixture
- Powdered sugar: Sweetens the filling without grittiness, sifting it prevents clumps for a silky texture
- Vanilla extract: Enhances the dairy flavors, a pure extract makes a noticeable difference over imitation
- Ladyfinger cookies: Provide the authentic tiramisu base and coating, crush them finely so they absorb the espresso well
- Espresso or dark coffee: Delivers that signature coffee punch, make sure it’s strong and completely cooled before mixing
- Coffee liqueur: Optional but adds depth and adult sophistication, Kahlúa blends beautifully with the espresso notes
- Unsweetened cocoa powder: Essential for the coating, use a high-quality Dutch-process cocoa for the richest color and taste
- White chocolate shavings: A beautiful optional garnish that adds a sweet, creamy contrast to the coffee bitterness
How to Make It
Prepare the Base:
Line a baking sheet with parchment paper to set the truffles on later. In a large mixing bowl, beat the cold mascarpone and softened cream cheese together with an electric mixer on medium speed until completely smooth and free of lumps, about 2 minutes. You really want this base to be creamy and uniform, so take your time here.
Sweeten and Flavor:
Add the sifted powdered sugar and vanilla extract to the cheese mixture. Beat on low speed first to incorporate the sugar without a cloud of dust, then increase to medium and mix for another minute until creamy and well incorporated. The mixture should look glossy and thick.
Soak the Cookies:
In a shallow dish, combine the finely crushed ladyfinger cookies with the cooled espresso and coffee liqueur. Stir until the cookies are fully saturated and form a paste-like consistency. This step builds the core tiramisu flavor, so ensure every crumb gets coated in that delicious coffee mixture.
Combine the Mixtures:
Fold the espresso-soaked cookie mixture into the cheese mixture. Use a spatula to mix until everything is evenly distributed. The mixture will be thick and soft, almost like a very rich cake batter or soft cookie dough. Don’t worry if it looks a little loose; the chilling step is crucial.
Chill the Batter:
Cover the bowl with plastic wrap and chill in the refrigerator for at least 1 hour, or until firm enough to scoop. This step is crucial for shaping the truffles. I usually use this time to clean up my kitchen and set up the coating stations. Skipping this will make rolling very messy.
Set Up Coating Stations:
Prepare your coating stations: Place the 1 1/2 cups of finely crushed ladyfingers in one shallow bowl and the cocoa powder in another. I like to have these ready on the counter before I start rolling to keep the process smooth and prevent the truffle mixture from warming up too much.
Roll the Truffles:
Using a small cookie scoop or a tablespoon, portion out the chilled truffle mixture and roll into 1-inch balls with your hands. Work quickly as the mixture softens with the heat of your hands. If your hands get sticky, you can lightly dampen them with water or wear kitchen gloves.
Coat and Finish:
Roll each ball first in the crushed ladyfinger cookies, then lightly in the cocoa powder. Place on the prepared baking sheet. If desired, garnish with white chocolate shavings or a light dusting of extra cocoa. I think the double coating gives them a beautiful, authentic look.
Final Chill and Serve:
Chill the finished truffles for at least 30 more minutes to set. Serve chilled for the best texture. For the best flavor and texture, let the truffles sit in the fridge for about an hour before serving to allow the flavors to meld. Store leftovers in an airtight container in the refrigerator.
You Must Know
- Cold mascarpone is key for a firm, workable truffle mixture
- Ensure espresso is totally cool or the cheese will melt
- Chilling before rolling prevents a sticky mess
- Coat the balls quickly before they soften up
- My favorite part is the final cocoa dusting
Storage Tips
Store your leftover truffles in an airtight container in the refrigerator for up to 5 days. I find they actually taste even better on day two as the flavors really meld together. If you need to make them further ahead, you can freeze them for up to 2 months; just place them in a single layer on a baking sheet to freeze solid, then transfer to a freezer bag. Thaw them in the refrigerator overnight before serving so they stay firm and creamy. Keep them chilled right up until you serve them for the best texture.
Ingredient Substitutions
If you want to make this kid-friendly, simply omit the coffee liqueur and use decaf coffee instead of the espresso. For a gluten-free version, use your favorite gluten-free ladyfinger cookies or vanilla wafers, which work great for both the base and the coating. If mascarpone is hard to find or a bit pricey, you can increase the cream cheese to 8 ounces and reduce the mascarpone to 4 ounces, though the flavor will be slightly less traditional. If the mixture feels too dry to roll, add a teaspoon more coffee; if it’s too sticky, add a bit more crushed cookies.
Serving Suggestions
Arrange the truffles on a beautiful platter dusted with cocoa powder for an elegant look. They pair wonderfully with a hot cup of espresso or a creamy cappuccino to double down on the coffee flavor. For a special occasion, serve them alongside a glass of sweet dessert wine like Vin Santo or a dessert port. I also love giving these as gifts in small decorative boxes tied with a ribbon—they always make people feel special.
Cultural Context
Tiramisu is a beloved Italian dessert that originated in the Veneto region, and its name literally translates to ‘pick me up’ or ‘cheer me up’ because of the energizing coffee and cocoa. While the classic layered cake is a staple in restaurants, turning it into truffles is a modern twist that makes it perfect for parties and gifting. This recipe respects the original flavor profile—mascarpone, coffee, cocoa, and ladyfingers—but adapts it for a bite-sized format. It bridges the gap between a traditional Italian pasticceria treat and a contemporary confection, allowing you to bring a taste of Italy to your dessert table in a new, convenient way.
Pro Tips
- For a cleaner coating, chill the rolled balls for 10 minutes before dusting in cocoa
- Good quality mascarpone makes a huge difference in the final flavor
- Use a melon baller or small scoop for perfectly uniform truffles
- If rolling gets messy, pop the bowl back in the fridge for 15 minutes
- I love using a microplane for fine white chocolate shavings
Frequently Asked Questions
Absolutely! The coffee liqueur in this Tiramisu Truffles Recipe is completely optional. You can simply omit it or replace it with an extra splash of vanilla extract or a tablespoon of cooled strong espresso to maintain that rich coffee flavor profile without the alcohol.
Store your Tiramisu Truffles in an airtight container in the refrigerator for up to 5 days. Because they contain mascarpone and cream cheese, they need to stay chilled. For the best texture and flavor, let them sit at room temperature for about 10-15 minutes before serving.
Yes, these truffles freeze beautifully! Place them in a single layer on a baking sheet to freeze solid, then transfer to a freezer-safe bag or container. They will keep for up to 3 months. Thaw them in the refrigerator overnight before serving.
If you don’t have ladyfingers, you can substitute them with Savoiardi biscuits or even crushed vanilla wafers. For a gluten-free version of this Tiramisu Truffles Recipe, use your favorite gluten-free crisp cookies or biscuits, crushed finely to coat the truffles.
The secret is ensuring the mascarpone mixture is firm enough before rolling. If the mixture feels too soft after chilling, pop it back in the fridge for another 15 minutes. Use a small cookie scoop for uniform portions, and roll them quickly between your palms to prevent melting from the heat of your hands.